OpenVPN Connect is the official VPN client from OpenVPN Inc., designed to work seamlessly with OpenVPN servers, including those running on pfSense, OPNsense, or OpenVPN Access Server. This guide walks you through installing the app and connecting to your VPN.
Step 1: Download OpenVPN Connect
Download the OpenVPN Connect client for your operating system:
- Windows: Download for Windows
- macOS: Download for macOS
- iOS: Available on the App Store
- Android: Available on Google Play Store
Step 2: Install the Application
Run the installer and follow the on-screen prompts:
- Accept the license agreement
- Choose the installation directory (default is recommended)
- Click Install and wait for completion
- Launch OpenVPN Connect when installation finishes
On first launch, you'll be asked to agree to the data collection policy. Review and click Agree to continue.
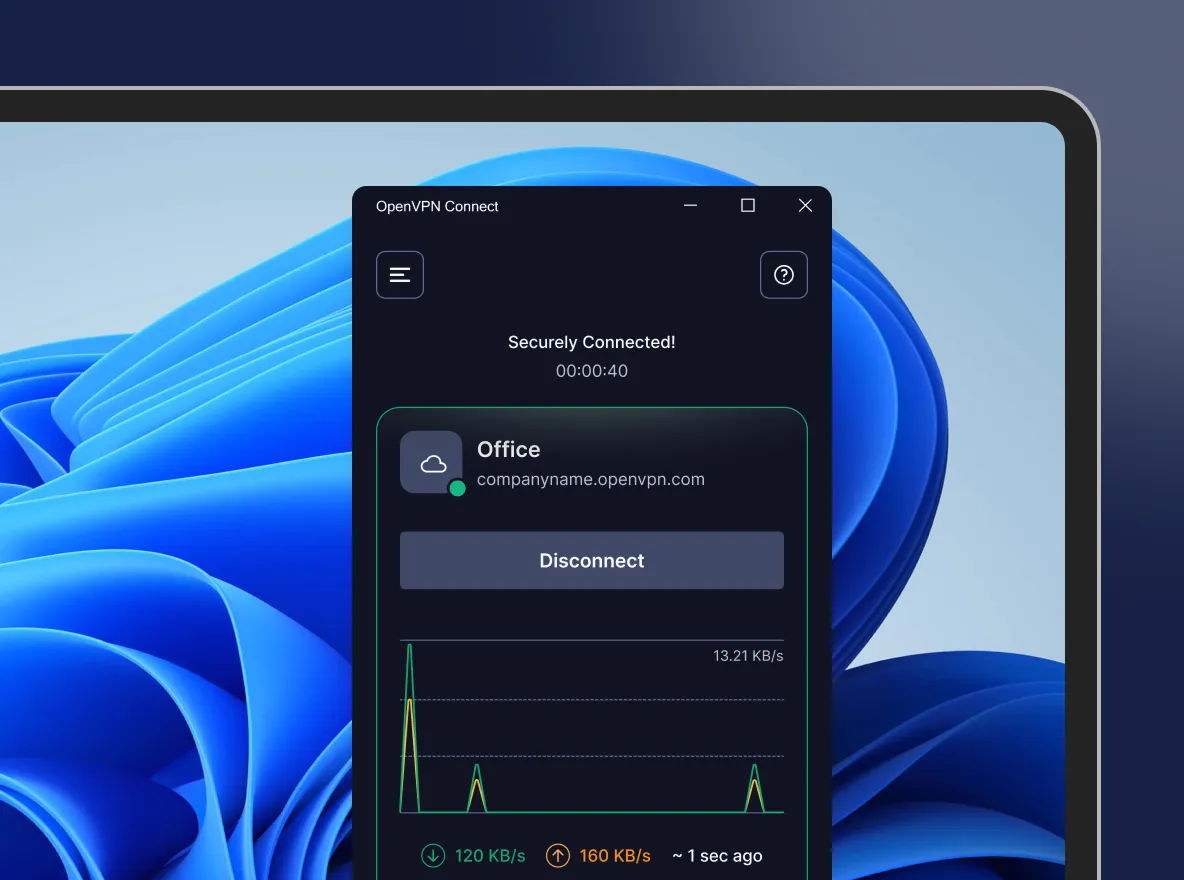 OpenVPN Connect main interface on Windows
Step 3: Obtain Your VPN Configuration File
Your IT administrator should provide you with a .ovpn configuration file. This file contains:
- Server address and port
- Encryption settings
- Certificates for authentication
- Your user credentials (or you'll enter them separately)
Save this file somewhere you can easily find it, like your Downloads folder or Desktop.
Step 4: Import Your VPN Profile
There are two ways to import your VPN configuration:
Option A: Import from File
- Open OpenVPN Connect
- Click the + (plus) icon or select Import Profile
- Choose Upload File tab
- Click Browse and select your
.ovpnfile - Click Add to import the profile
Option B: Import from URL
If your administrator provided a URL instead of a file:
- Click the + (plus) icon
- Select the URL tab
- Enter the provided URL
- Click Next and sign in with your credentials
Step 5: Connect to the VPN
- Your imported profile will appear in the main window
- Click the toggle switch next to your profile to connect
- If prompted, enter your username and password
- Check Save password if you want to remember credentials
- Click Connect
You may see a Windows security prompt asking to allow OpenVPN to make changes. Click Yes to proceed.
Step 6: Verify Your Connection
Once connected, you'll see:
- A green checkmark or Connected status in the app
- Connection statistics showing data transferred
- Your assigned VPN IP address
To verify you're connected, you can:
- Visit whatismyipaddress.com - it should show your VPN's public IP
- Try accessing internal resources that require VPN access
Disconnecting from the VPN
To disconnect:
- Open OpenVPN Connect
- Click the toggle switch to turn off the connection
- The status will change to Disconnected
Troubleshooting Common Issues
Connection Times Out
- Verify your internet connection is working
- Check that the VPN server address is correct
- Ensure port 1194 (UDP) or 443 (TCP) isn't blocked by your firewall
Authentication Failed
- Double-check your username and password
- Ensure your account hasn't expired
- Contact your IT administrator to verify your credentials
Certificate Errors
- Make sure you have the latest
.ovpnfile - If you see "external certificate missing," you can usually click Continue safely
- Check the box to not show the warning again for that profile
Need help setting up VPN access for your organization? Contact TechNet New England for assistance with secure remote access solutions.
Need Help With Your IT?
Our team of experts is ready to help you implement the strategies discussed in this article. Whether you need cybersecurity assessments, cloud migration support, or managed IT services, we're here to help.