pfSense allows you to create local user accounts for various purposes: VPN authentication, captive portal access, GUI administration, or system management. This guide shows you how to create and configure user accounts in pfSense.
When You Need to Create Users
You'll create users in pfSense for:
- OpenVPN access: Each VPN user needs their own account and certificate
- GUI administration: Delegate admin access without sharing the main admin password
- Captive portal: Control WiFi or guest network access
- System services: SSH access, FTP, or other authenticated services
Step 1: Access the User Manager
- Log in to your pfSense web interface
- Navigate to System -> User Manager
- You'll see the list of existing users (by default, only "admin")
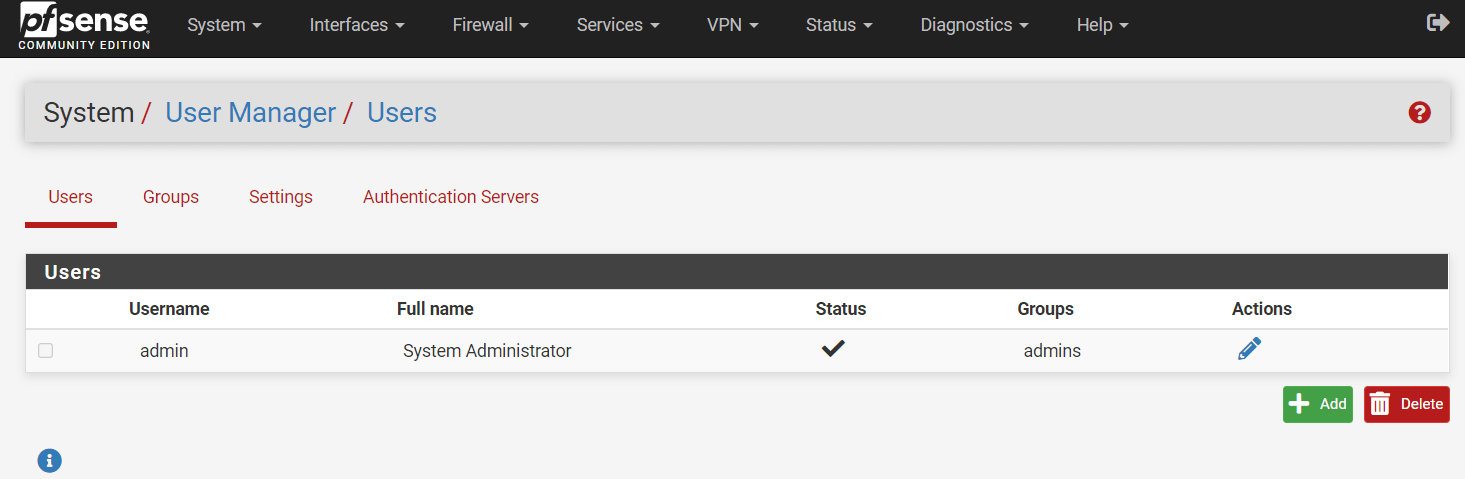 pfSense User Manager showing existing users
Step 2: Create a New User
- Click the + Add button at the bottom right of the Users tab
- Fill in the user details:
User Properties
- Disabled: Leave unchecked to create an active account
- Username: Enter a unique login name (max 16 characters, letters/numbers/period/hyphen/underscore only)
- Password: Enter a strong password and confirm it
- Full name: The user's display name (optional but recommended)
- Expiration date: Set an account expiration date if needed (useful for contractors)
 Setting user properties in pfSense
Step 3: Create a User Certificate (For VPN Users)
If this user will connect via OpenVPN, they need a certificate:
- Check the box Click to create a user certificate
- Configure the certificate settings:
- Descriptive name: A name to identify this certificate (e.g., "John Smith VPN Cert")
- Certificate authority: Select the CA you created for OpenVPN
- Key type: RSA or ECDSA (RSA 2048-bit is common)
- Lifetime: How long the certificate is valid (365-3650 days typical)
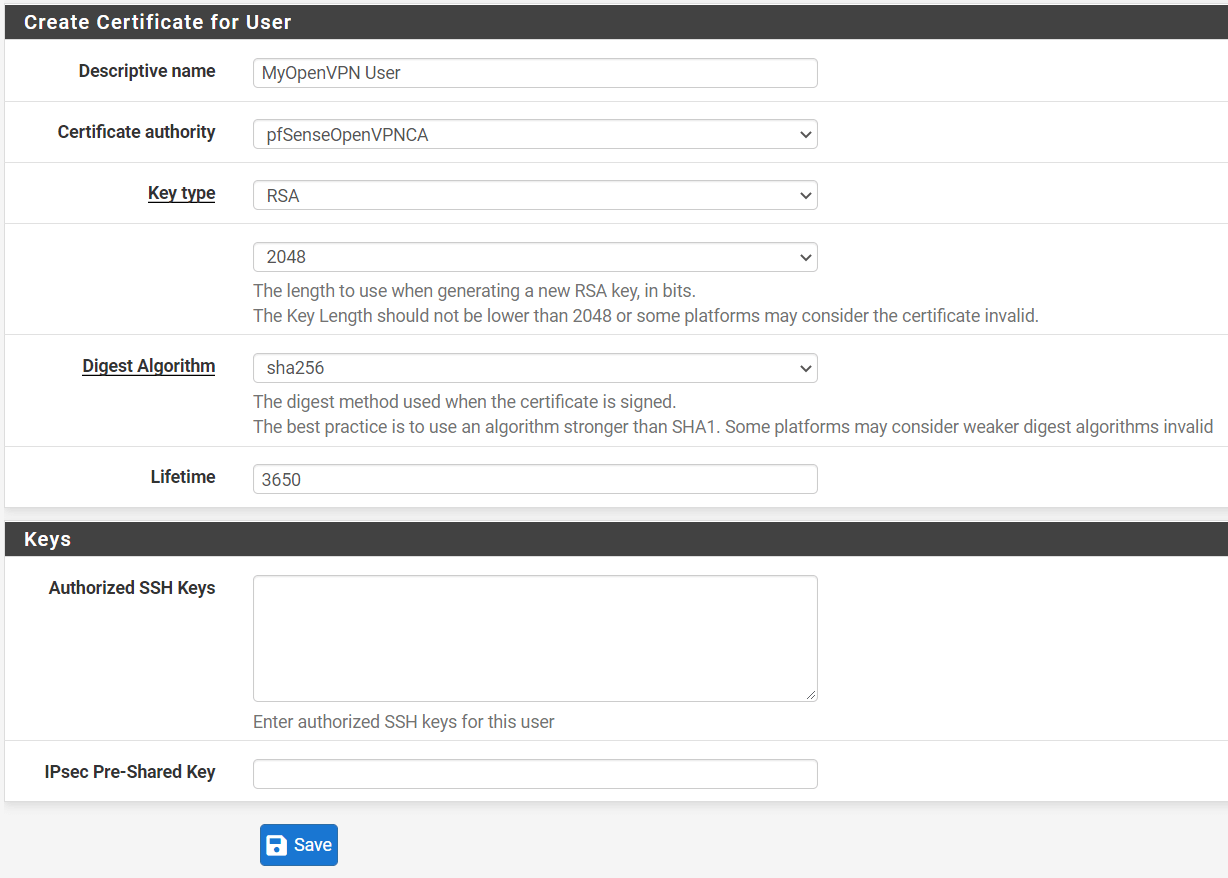 Creating a certificate for an OpenVPN user
Step 4: Assign Group Membership
Groups help organize users and assign permissions:
- In the Group membership section, you'll see available groups
- Select the group(s) the user should belong to
- Click the Move to "Member of" list button (->) to add them
Common groups include:
- admins: Full administrative access to pfSense GUI
- VPN Users: A custom group for VPN authentication (if you created one)
Step 5: Set Effective Privileges
If not using groups, you can assign privileges directly:
- After saving the user, click the pencil icon to edit them
- Scroll to Effective Privileges
- Click + Add to assign specific permissions
- Select the pages/features this user can access
Common privileges for limited admin accounts:
- WebCfg - Dashboard (all): View the dashboard
- WebCfg - Status: System logs: View system logs
- WebCfg - Diagnostics: Ping: Run ping tests
Step 6: Save the User
- Review all settings
- Click Save at the bottom of the page
- You'll be returned to the user list showing your new user
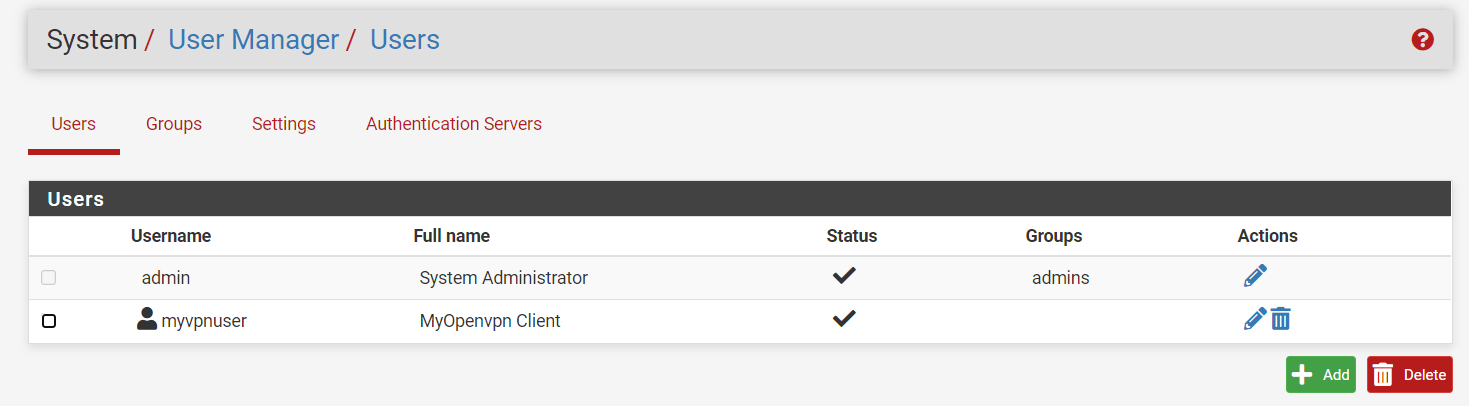 User list showing the newly created user
Managing Users
Edit a User
Click the pencil icon next to any user to modify their settings, change their password, or update privileges.
Delete a User
Click the trash icon to remove a user. Note: This also revokes their certificate if they have one.
Disable a User
Instead of deleting, you can disable a user temporarily by editing them and checking the Disabled box.
Best Practices
- Use descriptive usernames: "jsmith" or "john.smith" rather than generic names
- Set expiration dates: For temporary users like contractors
- Use groups: Assign permissions to groups, then add users to groups
- Audit regularly: Review user accounts periodically and remove inactive ones
- Strong passwords: Enforce complex passwords for all accounts
Next Steps
After creating a user for VPN access, you'll need to:
- Export their OpenVPN client configuration (see our guide on pfSense Client Export)
- Provide them with the configuration file and connection instructions
Need help configuring pfSense for your organization? Contact TechNet New England for firewall and network security services.
Need Help With Your IT?
Our team of experts is ready to help you implement the strategies discussed in this article. Whether you need cybersecurity assessments, cloud migration support, or managed IT services, we're here to help.